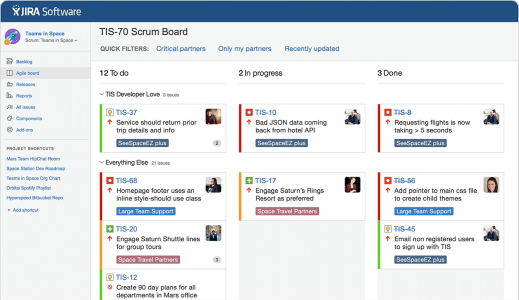
Jira is one of the most popular tools in the Agile world like Trello. However, Jira is a much more complete project management software on which we can redefine a workflow in a completely personalized way. We will see how to work our Jira workflow?
To set up Agile projects, it is often essential to couple the wall boards to a quality digital tool to cover different complementary aspects of the projects: historization, more complete description …
Create a first Jira’s workflow
When you are a Jira administrator, you can modify the workflow of your projects; you can manage the different states that your tickets can have from the beginning to the end.
By default, the workflow of a kanban project is: “todo”, “in progress”, “test” and “done”.
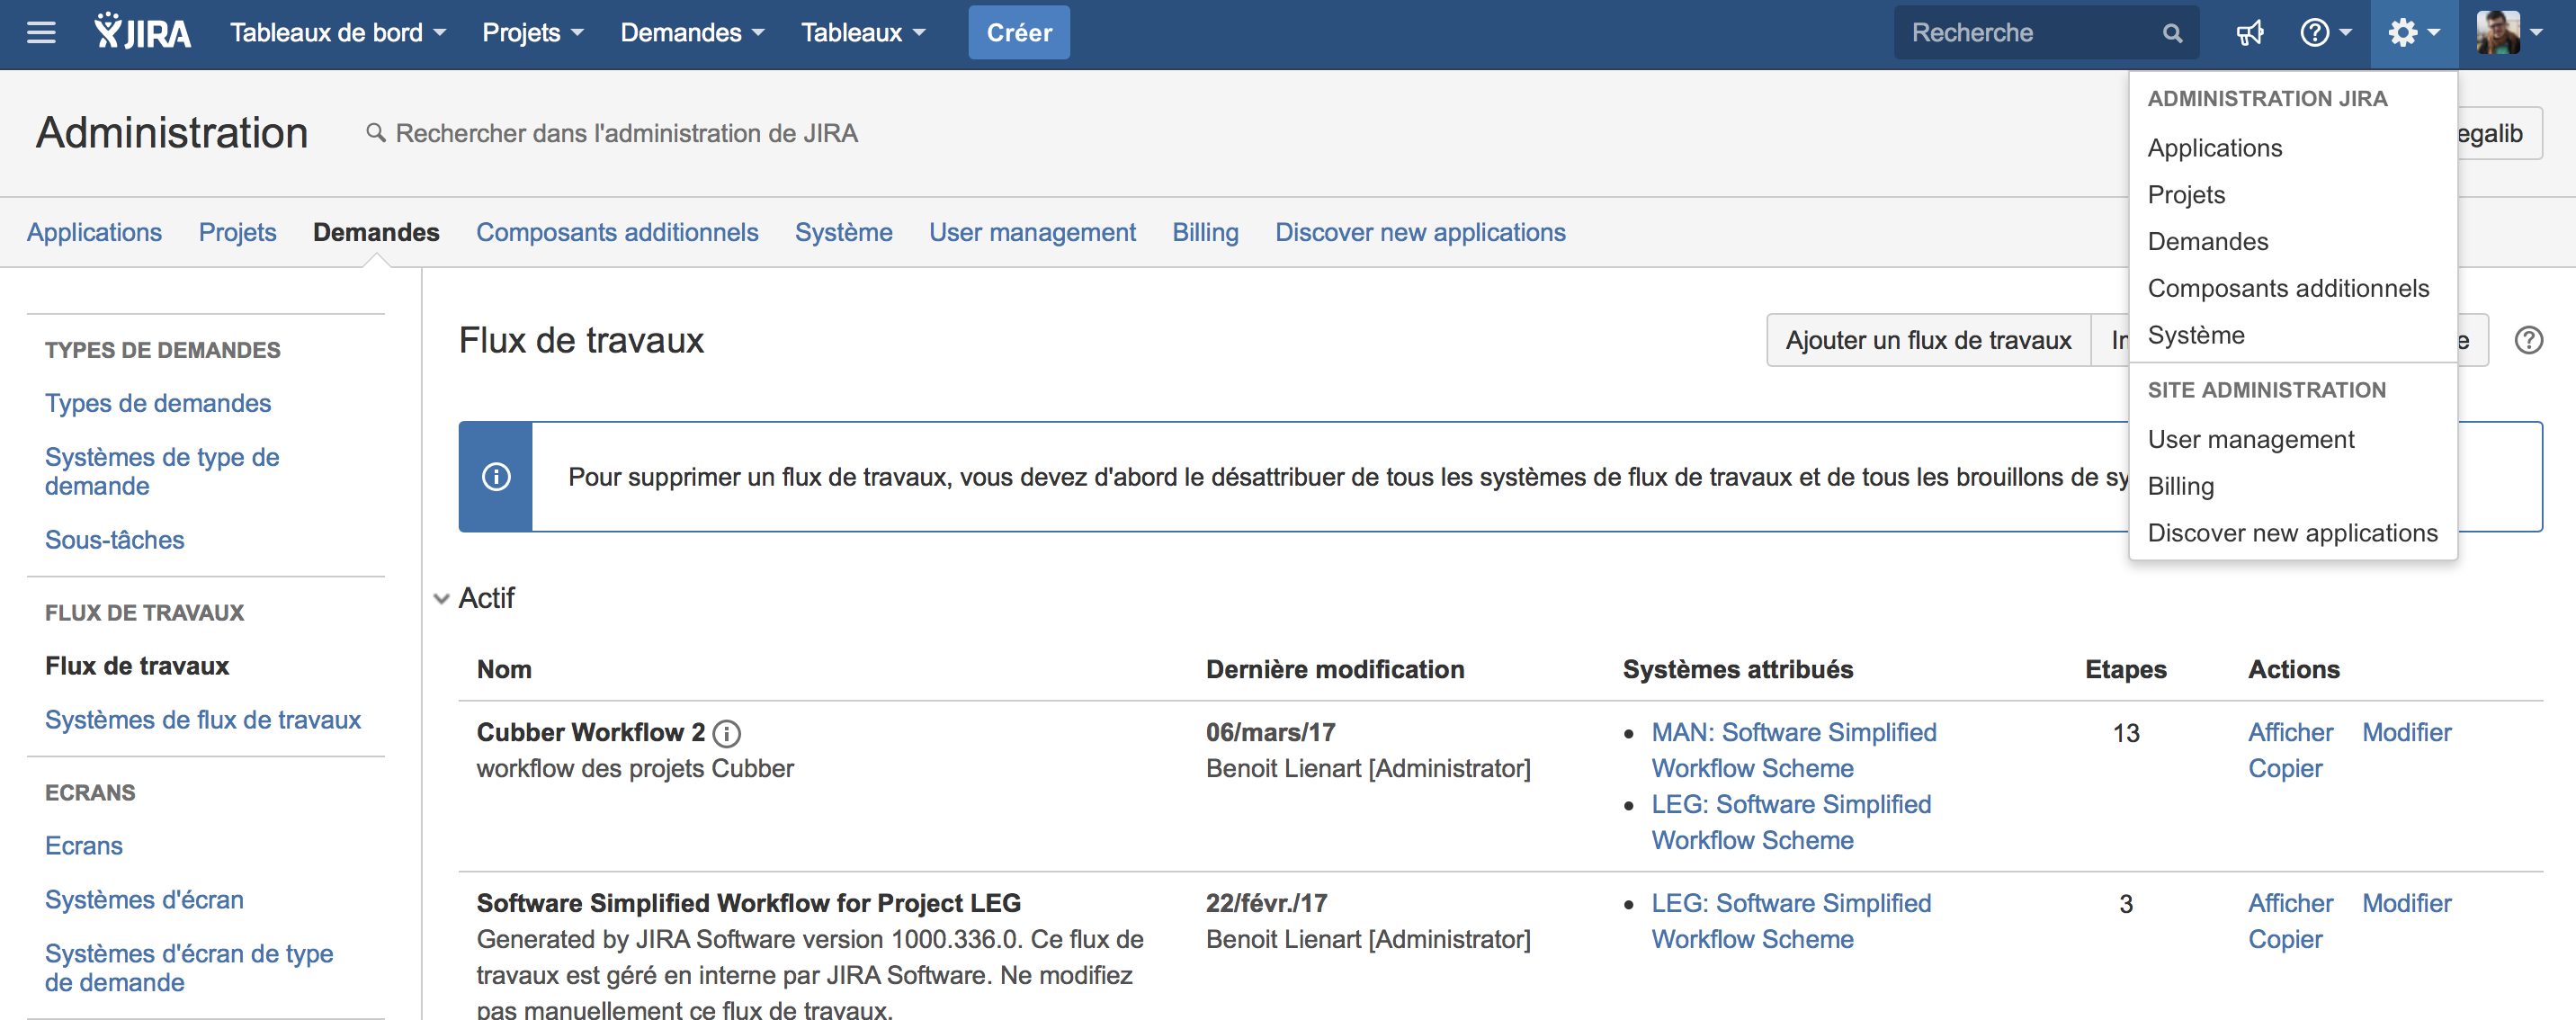
To create a new workflow on Jira, you will need to go to the Parameter icon at the top right. Then, click on “Requests” and click on “Workflow” in the left menu. On this last page, you have to click on “Add a workflow”.
Here is an image that represents all of these steps on Jira:
Reminder: if you modify a workflow, Jira will be able to refuse you a modification because it causes a modification of the tickets; to overcome this, you will copy your workflow, modify it and associate it with your project when it’s finished. These steps will be described below.
Jira workflow interface
The workflow can be done visually (Diagram) or by text. The text interface is less ergonomic but it opens more options in the creation of steps.
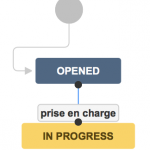
In a workflow (in “diagram” mode), we will define “states” and “transitions”. By default, we have a first state and a first transition.
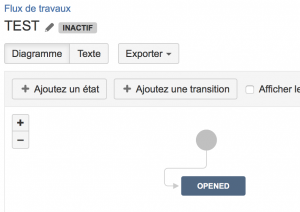
If we add a state, we will have to define its name and indicate if all the states of the workflow can lead to that one. If it’s not the case, it will be necessary to create the transitions (transition from one state to another).
It’s quite simple to do because you only have to click on the state that will propose the transition to the final state when the user click the transition. It will then be necessary to choose a name for the chosen transition.
Jira doesn’t want you to propose the same name for a transition. If it’s annoying, it’s actually very logical because otherwise the user will see two identical boxes when he want to change the position of the ticket.
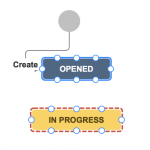
And, we will have linked our two states.
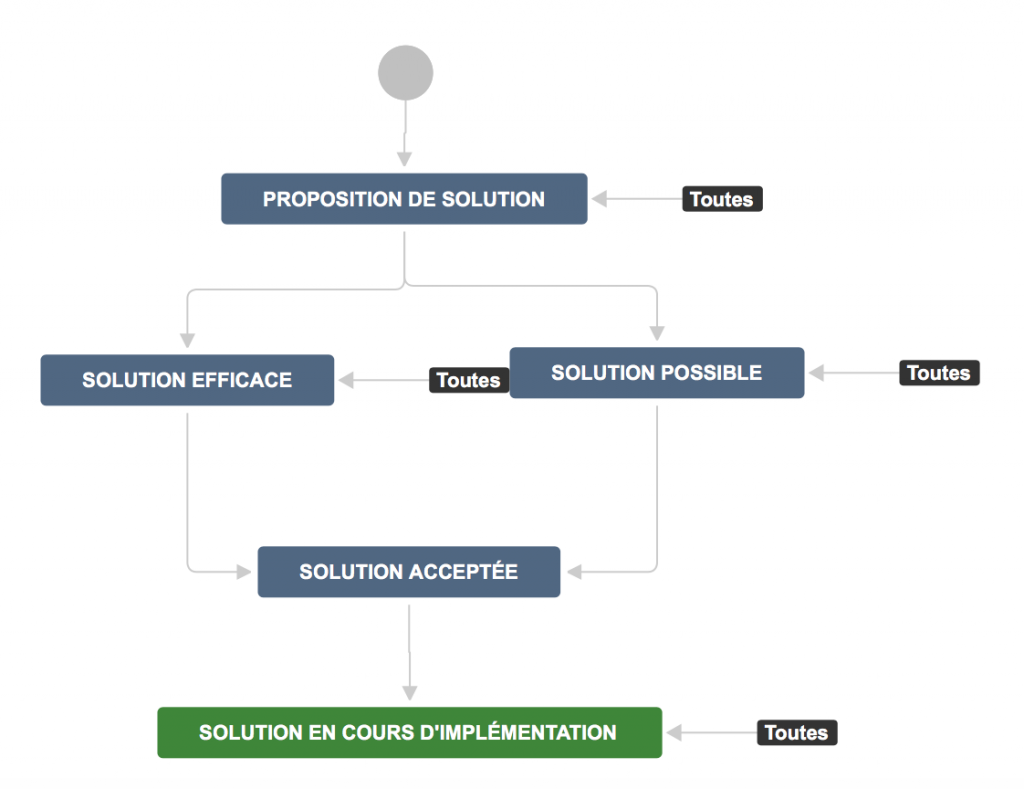
With these options, you can create all the workflow you want. For example, a workflow on Jira proposed by default by Jira below:
Warning: the states of a workflow are not directly related to the states of a board. We often have boards that offer the same states but it is not a mandatory. This is important because you will create boards and associate the states of your workflow to the columns of the board freely.
This is why we will create a board within the configuration of a project while we will work a workflow in the general configuration of Jira.
Use my workflow on one of my projects
Now that your workflow is created, it will have to be associated with a Jira project. You go to the menu “Workflow Systems” proposed in the left column.

On this new page, you will need to either create a new “workflow system” or edit the one already associated with your project. For example, your workflow system will allow a different workflow depending on the type of tasks you want (Epics, user-story, task …).

On this last page, you can “Add a workflow” and set up the types of requests you want to associate. When this is done, the tool will suggest you to transfer your project to this new workflow.
On large projects, Jira will ask you to make a mapping between the steps of the old workflow and the steps of the new workflow. This will allow Jira to tailor your requests to the new workflow.
Conclusion Jira workflow
If the first time this workflow management seems very complex, with this little tutorial, this management should be much clearer for you.
Jira has become a very good management project tool that could help you organize yourself. But, you will need administrator rights to be able to do this type of operations.




1 Trackback / Pingback